5 Arcade Game Joystick Repair Tips
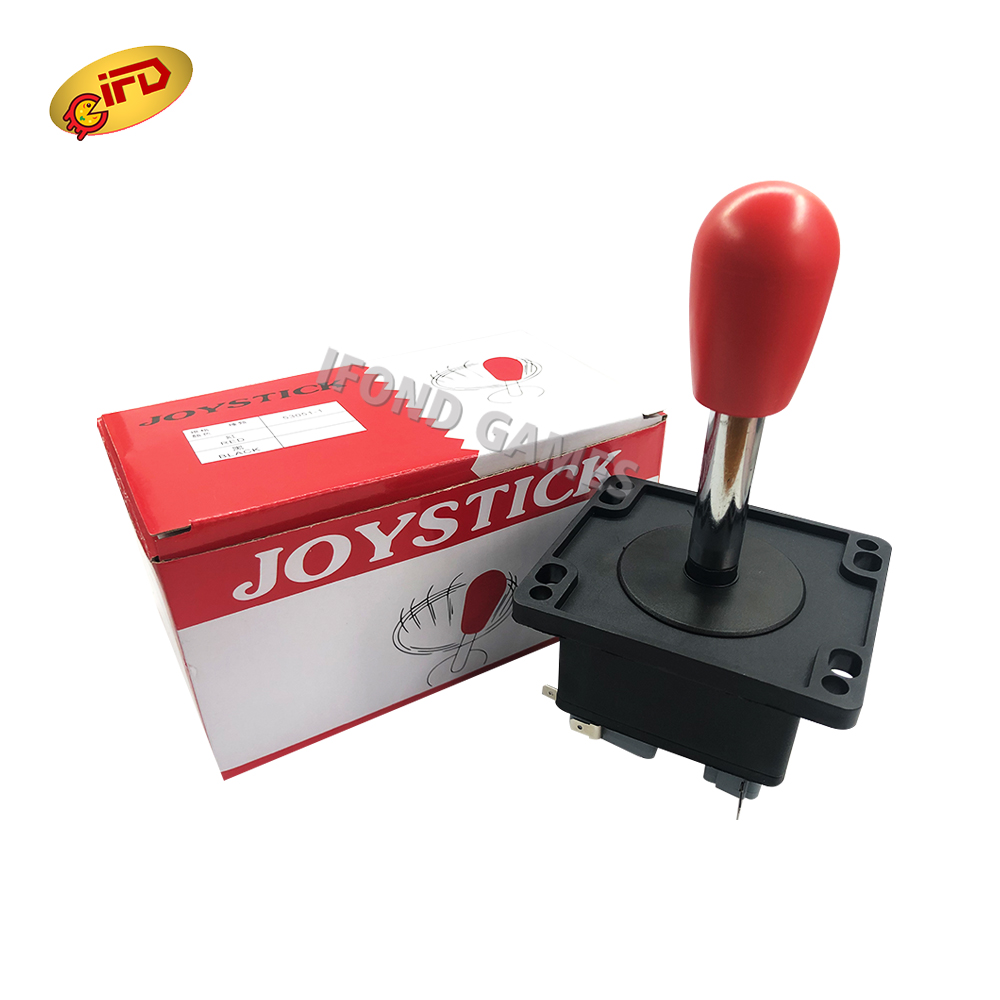
If you play classic arcade games in your home, you may have broken the joystick on your game. Although it’s possible to buy new joysticks for most of these games, it is far cheaper and just as effective to repair your existing joystick. This can be done with a few arcade game joystick repair tips.
Arcade Game Joystick Repair Tips:
Here are the tips to repair the arcade game joystick:
TIP 1: TEST THE JOYSTICK BEFORE DISASSEMBLY:
Before removing any parts from the joystick, test it in all directions to make sure that it is loose and not binding. If it needs cleaning, do it before disassembly.
TIP 2: REMOVE THE WIRE FROM THE TERMINALS:
If the wire is connected to the terminals on the PCB inside of the joystick case, remove it before attempting to remove the PCB from the case. Sometimes these wires break at the terminal and if they are still attached to the PCB they will break when you try to remove it from the case. If they break, your only option would be to replace them with new ones – and good luck finding replacements for those!
TIP 3: DON’T FORCE ANYTHING:
If you are removing a PCB from a case, don’t force anything. These joysticks were built very tightly; there is nothing wrong with them. Be patient and use appropriate tools for everything that you do. Don’t try to pry things out with screwdrivers.

TIP 4: INSPECT YOUR GAME CONTROLLER:
If there are exposed wires or broken parts, then immediately put your game controller aside and don’t use it anymore. In fact, if any part looks worn out or frayed, then don’t use it anymore – throw it away!
TIP 5: USE ELECTRICAL TAPE:
Before using your joystick again, cover up all of its wires with electrical tape so that nothing will accidentally touch together and cause an electrical short circuit.
You May Also Like

2 Gamer Game Basketball – Medalsports.com
Amazon.com: Pinball Machines